Real Estate Photography Tips for “Safe At Home” Photo Shoots
dppre March 25, 2020
Real Estate

dppre March 25, 2020
Real Estate
As COVID-19 causes disruptions across the economy, all types of industry professionals are faced with drastic changes to the way they’ve traditionally done business. But with these changes however comes an opportunity to adapt, and thereby get ahead.
A key cornerstone of the real estate industry has long been photography – the crisper and more professional, the better. But with California’s “Safer at Home” policy in place, professional real estate photographers are no longer able to visit clients’ homes to do the important work we’ve long relied on them for.
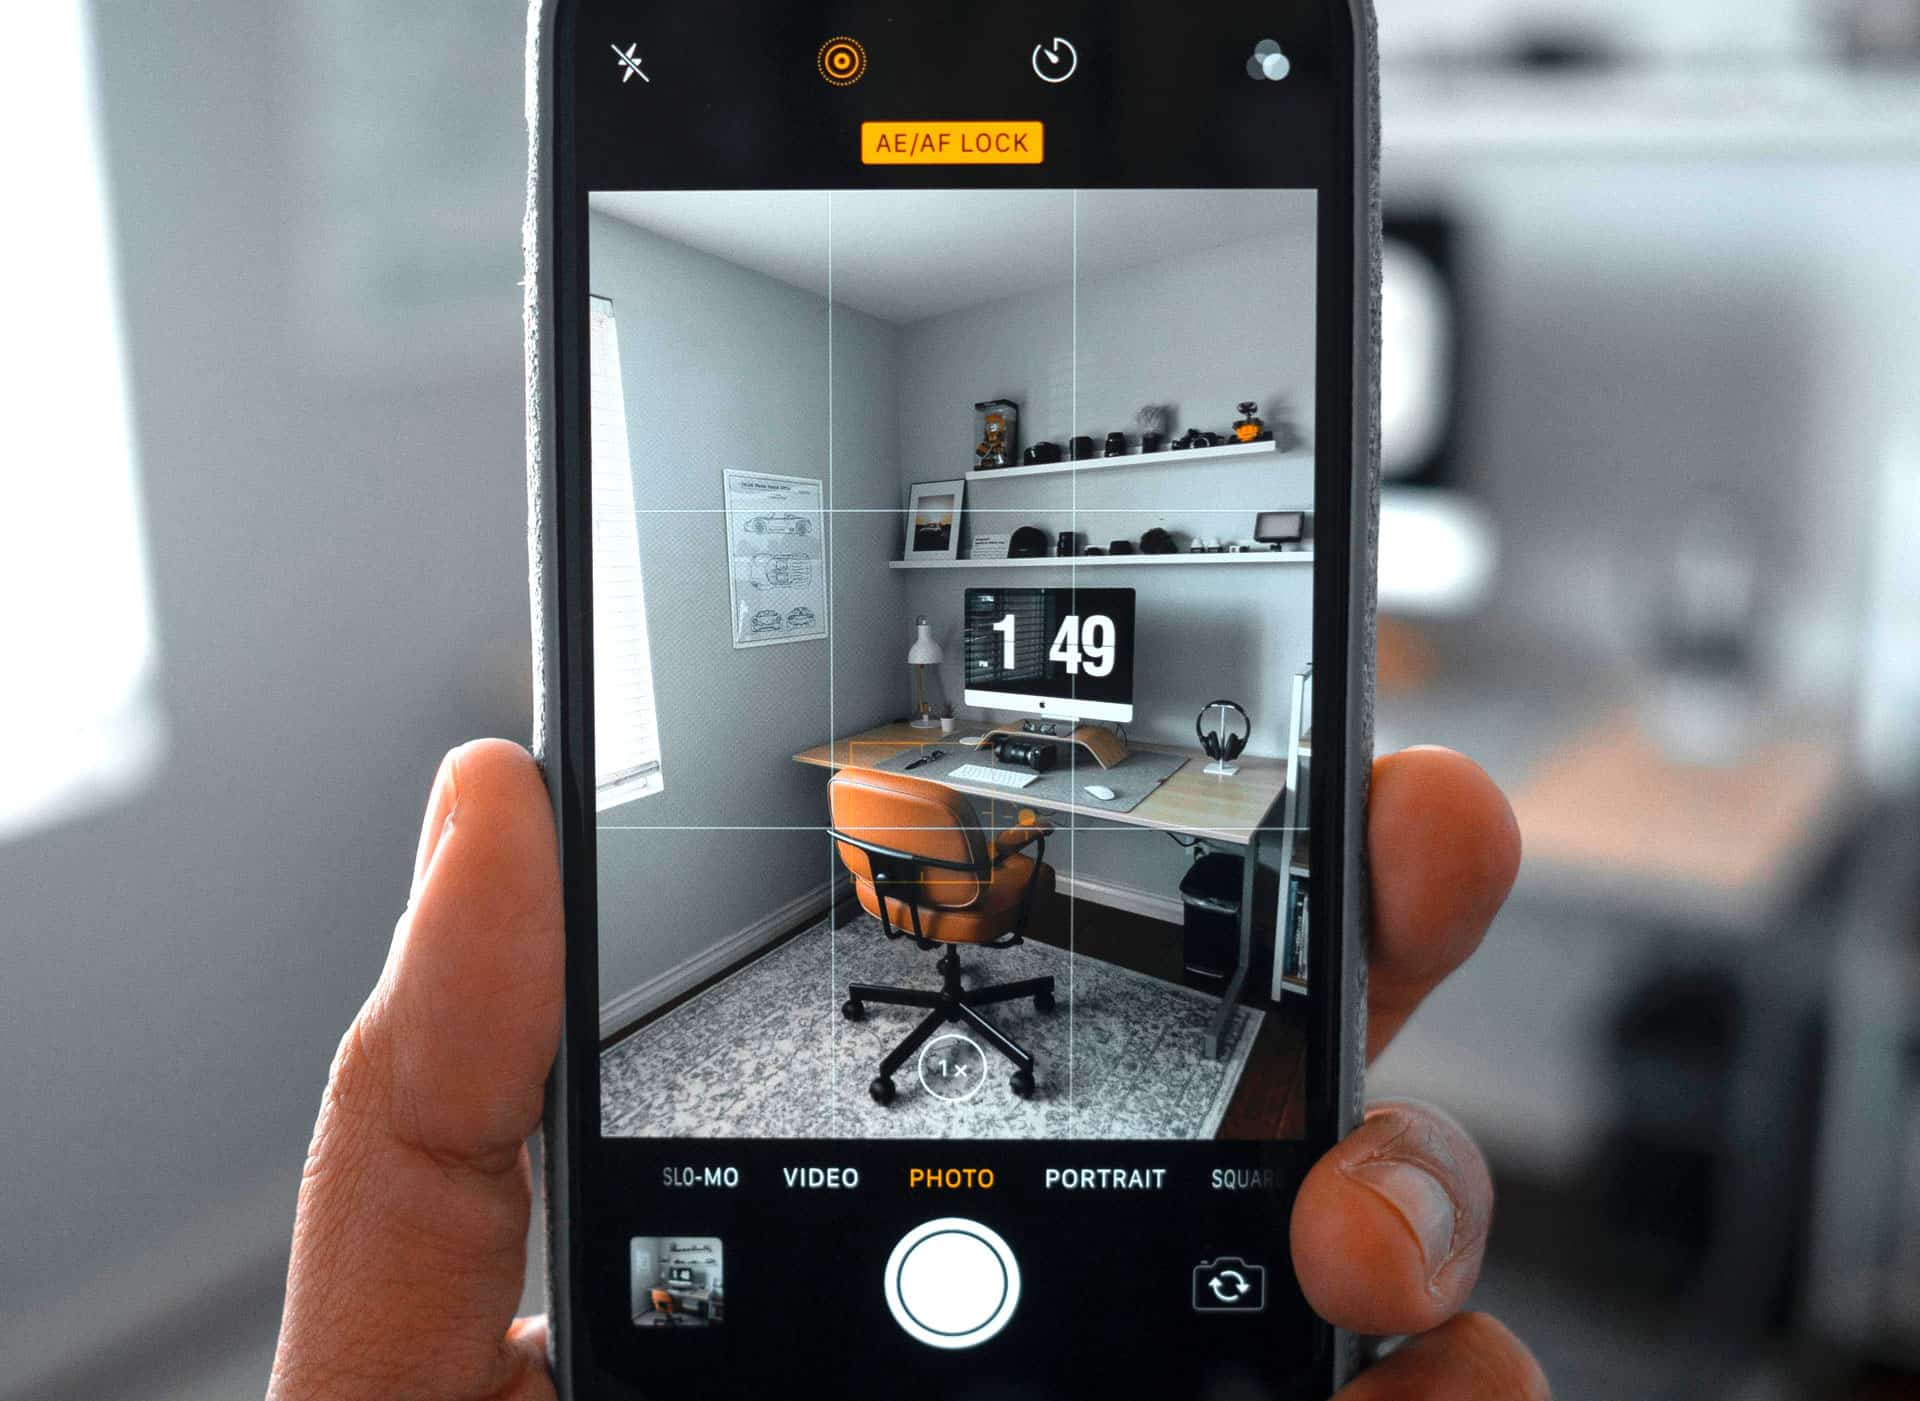
Fortunately, we live in a day and age where most of us have a high-quality camera in our pockets at all times. This has had many agents considering a DIY approach to real estate photography, wherein homeowners shoot their own houses. However, before you go advising your sellers to pull out their phones and start snapping away, a few tips for setting them (and you!) up for success.
Make Sure the Phone Is Set Up for a High-Resolution Photoshoot
The steps for how to do this can vary depending on what phone your seller is using. The good news is, most phone’s factory settings should suffice. If in doubt, you should reach out to the marketing or IT department to ensure that you’re all set.
The other key factor to consider here is storage space on the phone itself. Your seller will want to make sure they have roughly 3 to 5MBs of available space for each high-resolution photo they’re planning on taking.
Plan Ahead for Success
Make sure the homeowner has a game plan going into the shoot. Drawing up a shot list that covers your bases without going overboard is a great way to set your seller up for success. Depending on the size of the house, a standard shot list might look something like this:
In addition to the shot list, have your seller observe what time of day the light inside the home looks best. The same goes for the outside of the home. Exterior shots always look best with the fewest possible shadows being cast over the house.
Lastly, check the weather forecast. A house will always seem more appealing shot on a sunny day than on an overcast/rainy one.
Prepping the House for the Shoot
Have your seller go through their house, making sure it’s free of clutter, cabinets are shut, beds are made, etc.
Encourage them to stage their home to whatever extent possible. This could mean removing extraneous furniture, rearranging the art on the walls, or even setting out vase flowers or a bowl of fruit.
Advise them to maximize the amount of light in their home. Have them turn on lights, open doors, draw blinds, whatever will increase the amount of light inside.
Shooting the House
When it finally comes time for your clients to shoot their home, ask them to utilize the “Panoramic” function in the camera app. This will allow your marketing department a lot of options for cropping the ideal portion of the shot. Do, however, make sure your seller knows to keep their phone level and still while capturing the photo.
Encourage the homeowner to find creative (yet effective) angles while shooting. Advise them to try shooting from a doorway to maximize the amount of space in the room they’re able to capture.
Lastly, request that they keep an eye on the details. If they notice a distracting element they missed in the staging phase, encourage them to remove it from the frame to create the best possible shot.
Sending the Files
Once your seller is happy with their shots, they’re ready to send them over. If they’d prefer to send them to you directly from their phone, make sure they’re selecting “Actual Size” when prompted or in the original HD, high-resolution format. They may also prefer to download them to their computer and send them as a link via Dropbox or Google Drive.
Once you have these shots, pass them onto your marketing department, or the professional photographer of your choice to work their magic in Photoshop.
Obviously, this process is not for every seller. However, at a time when so many are at a loss for gathering assets to get a listing to market, such bootstrapping can really pay off. If you think your seller might be up for the challenge, please don’t hesitate to reach out to the DPP Marketing Department for further guidance.
Stay up to date on the latest real estate trends.
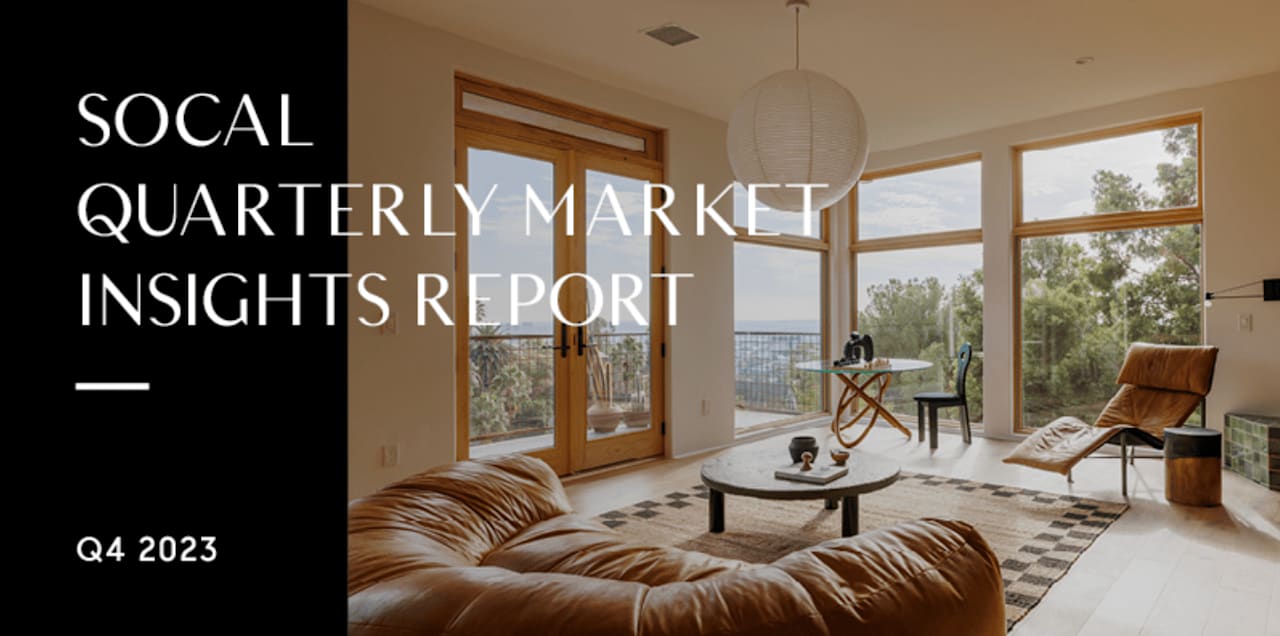

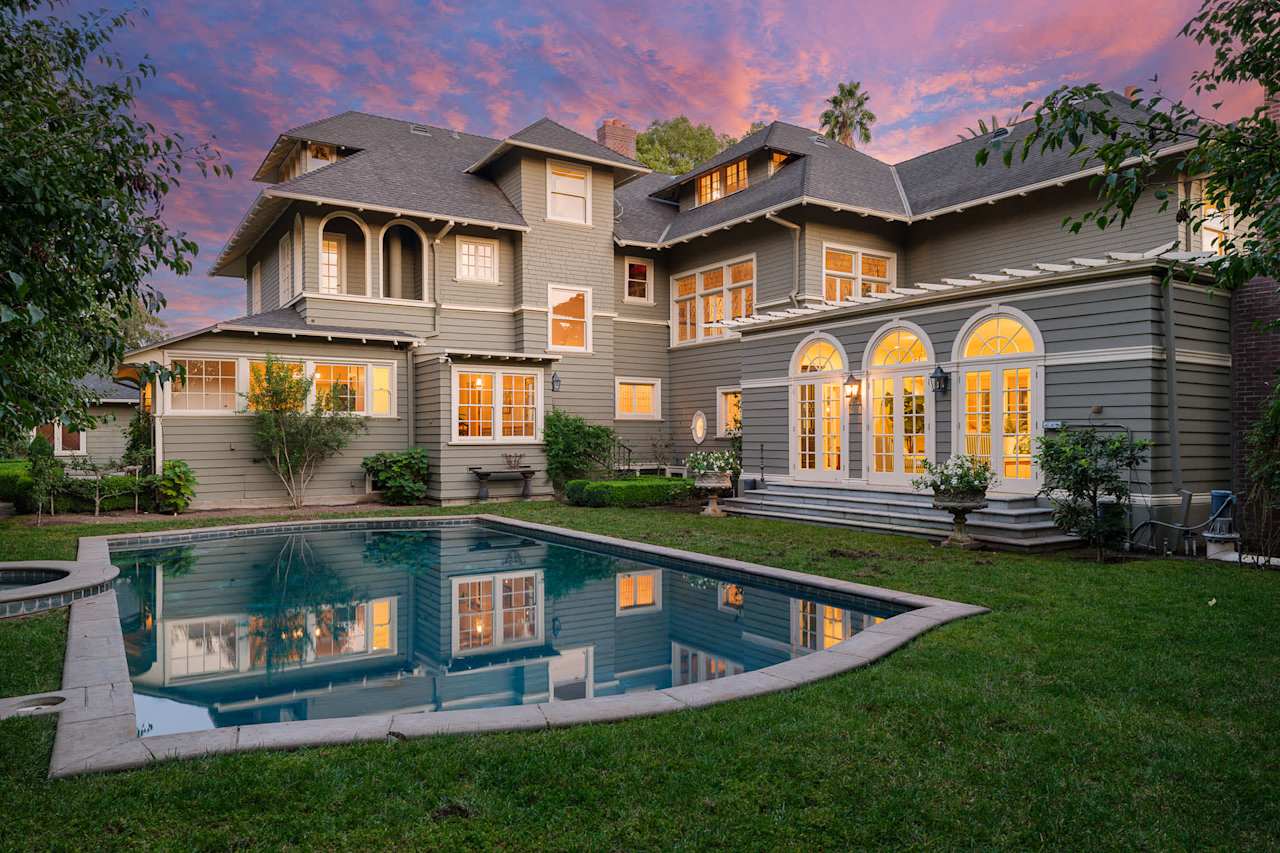
Preserving Heritage Through Meticulous Craftsmanship and Modern Living
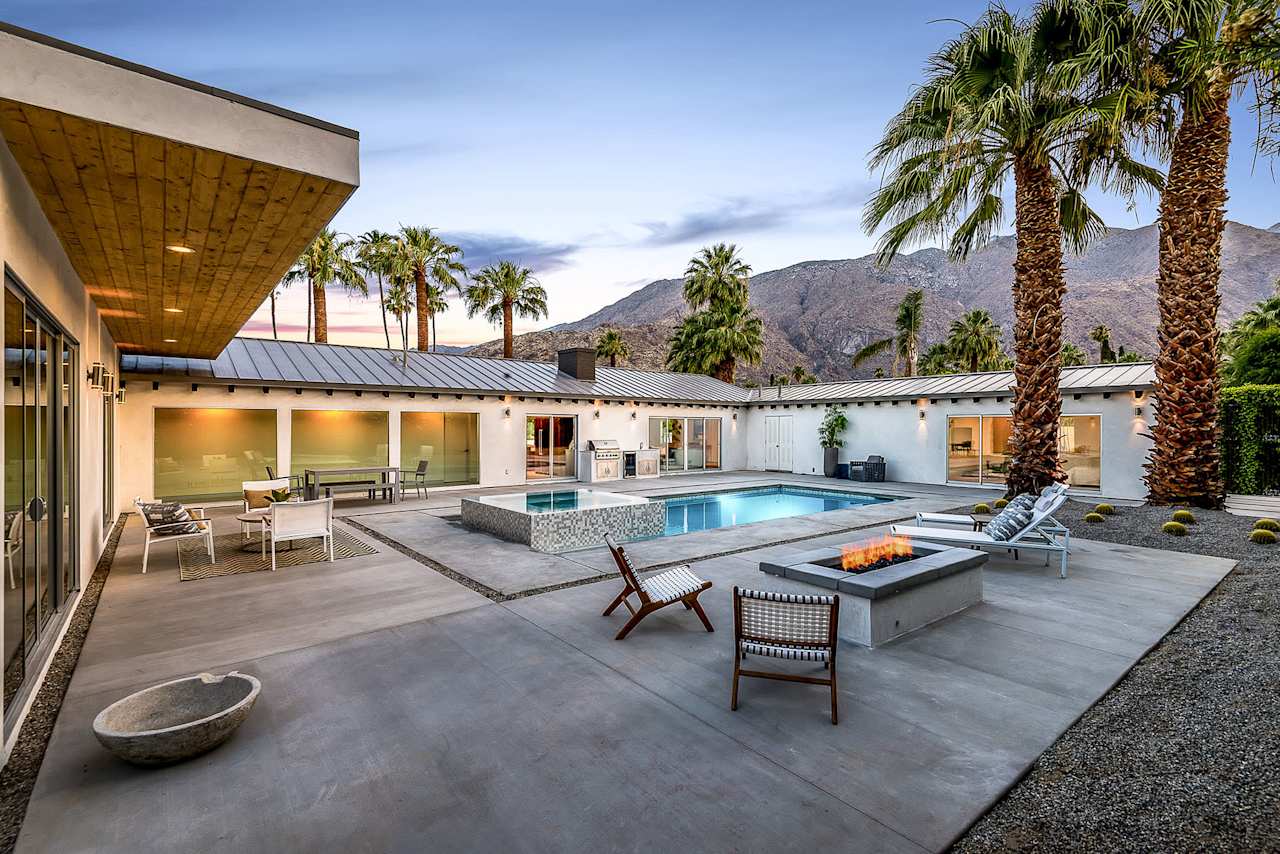
In Palm Springs, Architecture Meets Timeless Innovation

We are available to assist you with all your residential needs, please contact us.